Your body is a temple; treat it kindly.
This lemon-berry Vegan “cheesecake” is the perfect way to fulfill this mantra. As well as looking and tasting delicious, this dessert is free from dairy, eggs, refined sugars and gluten, and full of nourishing whole foods such as cashews, dates, chia seeds and raspberries. This dessert is sure to make you glow from the inside out!
For this recipe, the ingredient measurements are approximate. When making this cheesecake I estimated the amounts, and tweaked them to get the perfect taste and texture. You can have a play around and adjust the amounts to get the taste and textures to work for you.
Sweet Lemon-Berry Vegan “Cheesecake”
EQUIPMENT
– A high speed food processor or Vitamix blender
– A medium cake tin
INGREDIENTS
For the base
– 300g of dates soaked in water and drained
– 200g Walnuts (you can also use cashews, pecans, almonds, or a mixture of all for the base)
For the centre
– Half a can of full fat coconut milk (I used the “cream” from the top of the can to allow for a creamier, richer texture)
– 1/2 cups cashews soaked for an hour to over night. The longer you soak the cashews, the better, but the cheesecake will still work if the cashews are only soaked for an hour.
– The juice from three lemons, so around 1/2 cup. You can add more or less depending on your preference
– 1/2 cup maple syrup
For the top
– 1 cup fresh or frozen raspberries
– 1 tablespoon of chia seeds
– 1 tablespoon coconut sugar (or any other sweetener)
– 1/4 cup water

METHOD
– Using a high speed food processor, blend together the walnuts and soaked dates (be sure to drain these thoroughly first).
– Once a fine, doughy consistency has formed, press the mixture evenly onto the base of a medium size cake tin. The mixture should spread evenly over the base of the tin.
– Next, blend together the soaked and drained cashews, coconut milk, maple syrup and lemon juice on high speed in a food processor or Vitamix blender. You want the mixture to be as creamy as possible so blend on high speed for around two minutes, or until smooth and creamy. You may have to turn off your food processor/ blender and scrape the mixture from the sides and then resume blending.
– Pour the mixture on top of the date/walnut base, and distribute evenly.
– Place the cake tin on an even surface in the freezer (you may have to make room).
– It should take around six hours for your “cheesecake” to fully freeze.
– Once the base and middle layer have fully set in the freezer, it’s time to make the raspberry topping.
– For the topping, combine fresh or frozen raspberries (you can use any type of berry for this e.g. blueberries, strawberries etc) with one tablespoon of coconut sugar (or any other type of sweetener e.g. maple syrup, agave, coconut nectar, raw sugar etc), water and a tablespoon of chia seeds. Stir the mixture on a medium heat until the berries have softened and combined with the coconut sugar, water and chia seeds. This mixture should have a sauce-like consistency
– Leave the mixture to cool for around twenty minutes. Then pour mixture over the “cheesecake”, and place back in the freezer; it should take around one hour for the final layer to freeze.

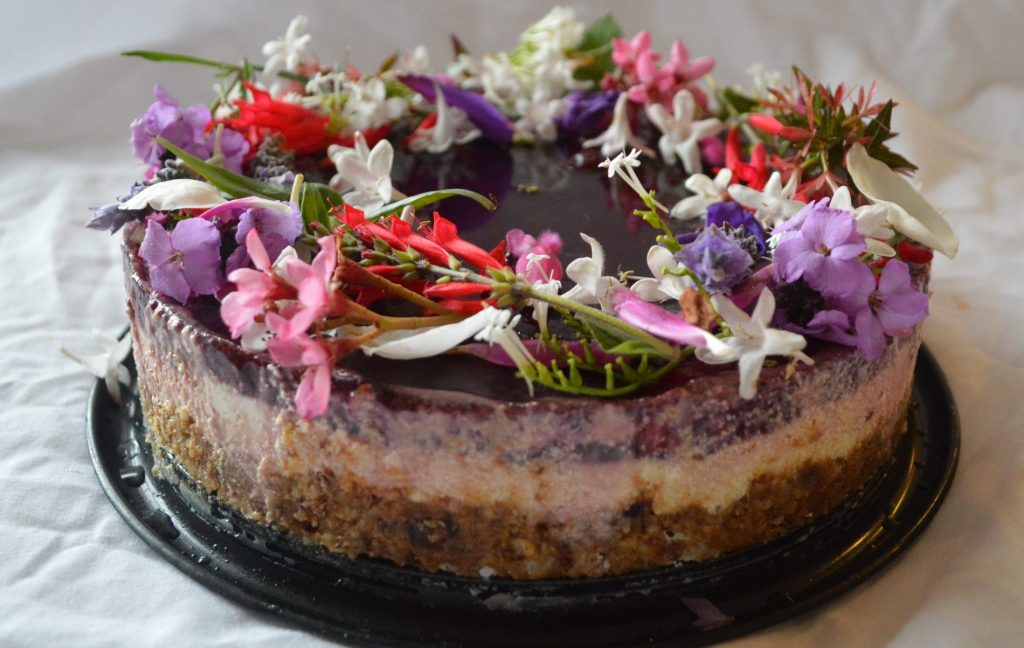
I then decorated the cheesecake with flowers from my local park, but you can get creative with this and decorate it however you like.
Some ideas include: chopped seasonal fruit, grated dark chocolate, or you could whip up some chocolate, date bliss balls and arrange them on top of the cake. The sky’s the limit.
I have found that the cheesecake it best eaten once thawed for around an hour, but it depends on how hot or cold your room temperature is.
[/et_pb_text][et_pb_social_media_follow _builder_version=”3.0.53″ saved_tabs=”all” link_shape=”circle” url_new_window=”on” follow_button=”on” background_layout=”light” global_module=”4820″] [et_pb_social_media_follow_network social_network=”facebook” skype_action=”call” url=”https://www.facebook.com/livekindlyco/” bg_color=”#3b5998″]